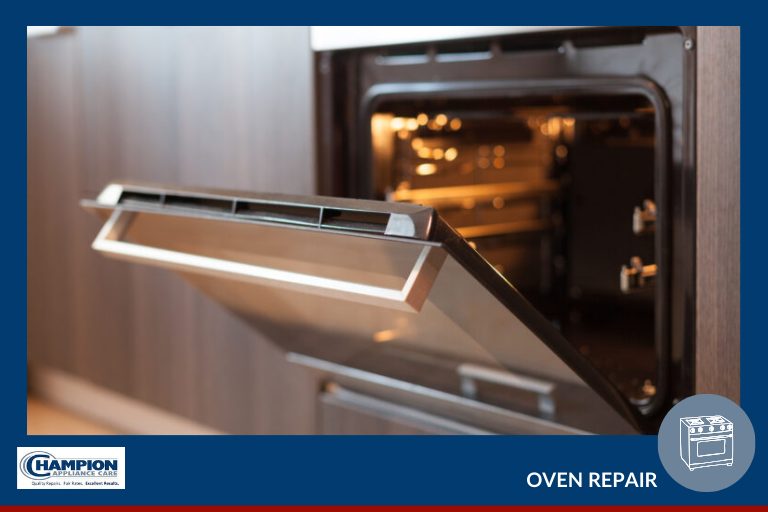
If your electric oven is not heating, you are experiencing a common appliance problem that eventually occurs with every brand. There are two issues to consider when your oven is not heating: 1) A part has failed, or, 2) No part has failed, but there is an underlying cause to the problem.
Caution: Some solutions will require checking the inside of the unit. If you attempt to repair the oven, avoid electrical shock and cuts by unplugging the cord and wearing safety gloves when diagnosing or working on an appliance.
Time Required: Most repairs require 45 minutes to 2.5 hours, depending on your experience level, the part that needs to be repaired or replaced, and your oven brand. A multimeter will be necessary to determine which part needs to be replaced.
Want It Fixed Quickly? Our Champion Appliance Techs have repaired this problem numerous times. You may call or request service online, and we will respond quickly. Please read this page thoroughly before attempting to correct the problem yourself.
Underlying Causes:
Incoming Power Issue:
The power for electric ovens is generated by 240 volts of AC-alternating current through two legs of voltage. If one leg does not provide the voltage required, a breaker may have tripped, or a fuse has blown. Note: if there is a breaker or fuse problem, sufficient power can still be present from the second leg of power (see overview below) to illuminate the display board or power the oven’s light bulb.
What To Do:
- You should check the circuit breaker or replace any blown fuses if needed.
- Suppose the outlet is not providing sufficient voltage. In that case, you can use a voltage meter to test for adequate power or have a qualified professional do so.
- Refer to your owner’s manual for instructions on ensuring power flows to your appliance, or have your oven inspected by a Champion Appliance professional.
Electric Oven Overview
Electric ovens typically require 240 volts of alternating current (AC) running through two legs of voltage, 120 volts per leg. The oven control typically regulates the first leg of voltage. The oven control may either regulate the second leg of voltage or be continuously present at one side of the bake or broil elements. When selecting the bake or broil function, the control regulates whether the first leg or both voltage legs sends power to the bake or broil elements. When voltage is present, an element heats up.
An oven sensor monitors the temperature inside the oven. The oven control will turn off the voltage to an element once the oven reaches the selected temperature. This cycle repeats during the baking or broiling, so consistent temperatures are maintained. If this process fails, then the oven will not heat up.
5 Possible Parts Failures & Remedies for Ovens Not Heating
Assuming you have eliminated the incoming supply issue mentioned earlier as a possible underlying cause, the following are the five most common parts failures for your current oven problem.
- Burned-out element – If the bake or broil element is not glowing red when turned on, it is likely burnt out. You can determine if an element has failed by inspecting for visible breaks or blistering. A multimeter can be utilized to test for continuity – a continuous electrical path through the part.
Remedy: If the element tests negative for continuity or visible breaks or blistering are noticeable, replace the element. - Faulty wire connections – The supply wires on the bake or broil element most often burn out closest to the heat source and will appear visibly damaged. In addition, if wires are loose, an element may not be receiving power to heat up.
Remedy: You should confirm that the wires are damage-free and that the connection is secure. Replace the element if wires are damaged. - Blown thermal fuse – For some oven brand models, a thermal fuse protects the oven from getting too hot if temperatures exceed the manufacturer’s safety threshold.
Remedy: You can use a multimeter to test the thermal fuse for continuity. If the test is negative, replace the fuse. - Thermostat sensing bulb – The sensing bulb is filled with liquid that expands as the oven heats, initiating the thermostat contacts.
Remedy: If a sensor is broken or leaking or a thermostat is more than 50 degrees out of calibration, replace it. You can measure the oven sensor’s resistance using a multimeter. When testing, always test the sensor at room temperature. Check your oven manual for specifics, but most often, a meter should display approximately 1,100 Ohms of resistance. If the resistance is significantly off, replace the sensor. - Malfunctioning Control Board: If the sensor shows accurate resistance, and you’ve ruled out the failure of other oven components, then the oven’s control board may be malfunctioning. It can be challenging to determine if there is a problem with the control board. Visually inspect it for signs of burning or a shorted-out component. If you need help with this, contact an appliance professional.
We’ve Got You Covered!
We have seen each of these oven problems numerous times and would be happy to diagnose and repair your unit. Our online scheduling is simple and efficient and will quickly walk you through the process. You may also speak to one of our friendly office staff by phone.